How To Use Local Falcon's Looker Studio Integration (Formerly Google Data Studio)
Last updated on 11/19/2025, 4:55 PM
Looker Studio allows you to create custom dashboards and reports for data visualization. Using Local Falcon's integration with Looker Studio, you can use the contents of your Local Falcon reports to infuse your custom dashboard with your ranking data.
Getting Started with Looker Studio (Google Data Studio) and Local Falcon
Your integration with Looker Studio is available with all active subscriptions that are enabled for the Data Retrieval API ("Basic", and higher subscription levels).
By setting up this integration, you agree to our Terms of Service and Privacy Policy.
Adding Your Ranking Data to Looker Studio (Google Data Studio)
Follow the steps below to customize your report.
1. Create a blank Looker Studio Report and Authorize your connection to Local Falcon.
To add Local Falcon as a Data Source, click "create data source" and search for "Local Falcon" in the connector gallery. 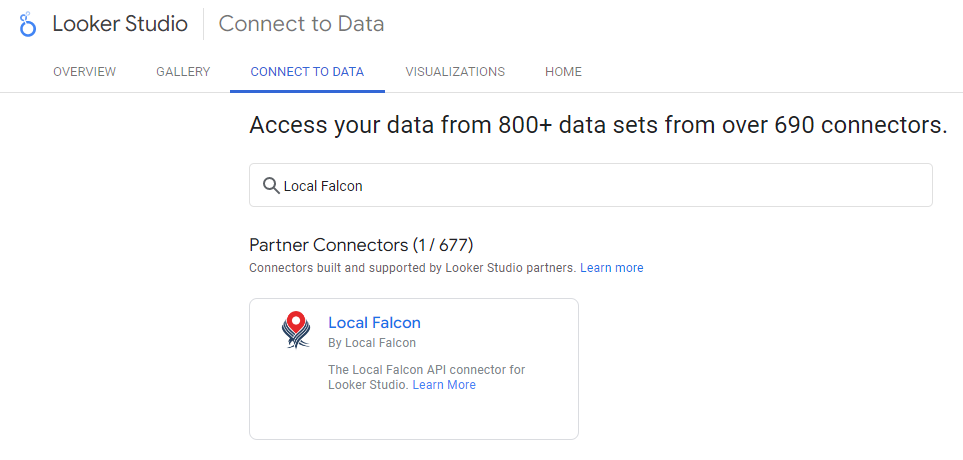
Select Authorize to implement the use of this Community Connector for both Local Falcon and Looker Studio (Google Data Studio).
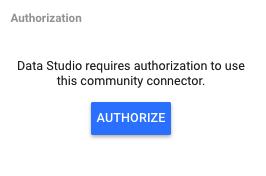
You do not have to use the same Google account that you used on Local Falcon. This is only an authorization to connect any Google Account with Local Falcon.
2. Configure the Local Falcon Community Connector
Provide the API Key from your Local Falcon account.
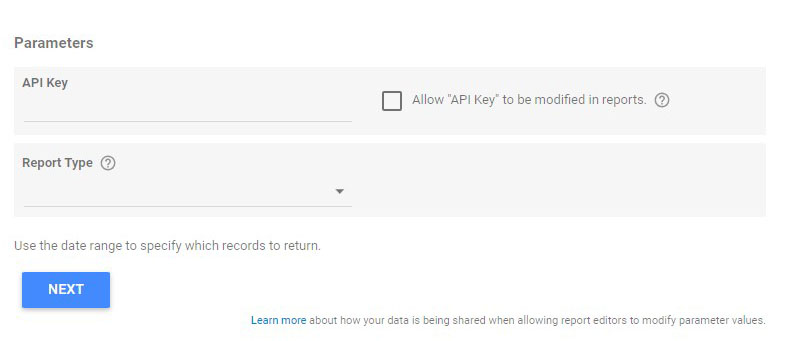
3. Choose what report information to retrieve from Local Falcon.
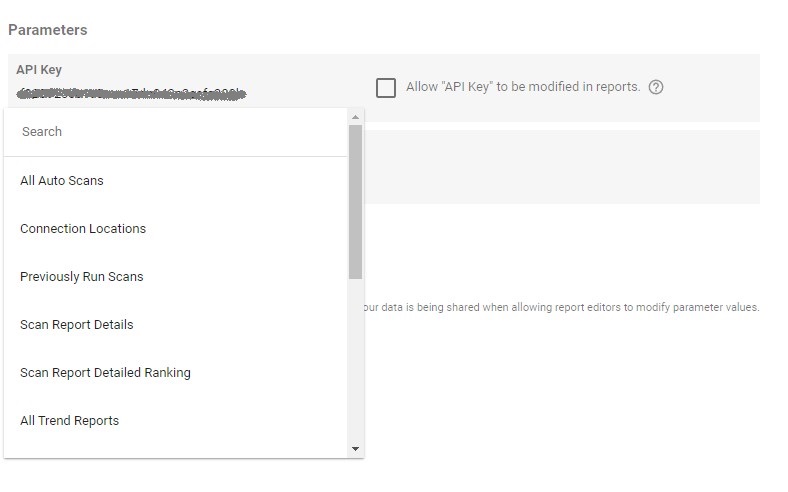
Each report type corresponds to the different Local Falcon Data Retrieval endpoints as documented in the API Documentation. Additional optional parameters will be available once you've chosen a particular report to retrieve.
4. Click "Connect" & review the fields and parameters of the selected report type. (List of all fields)
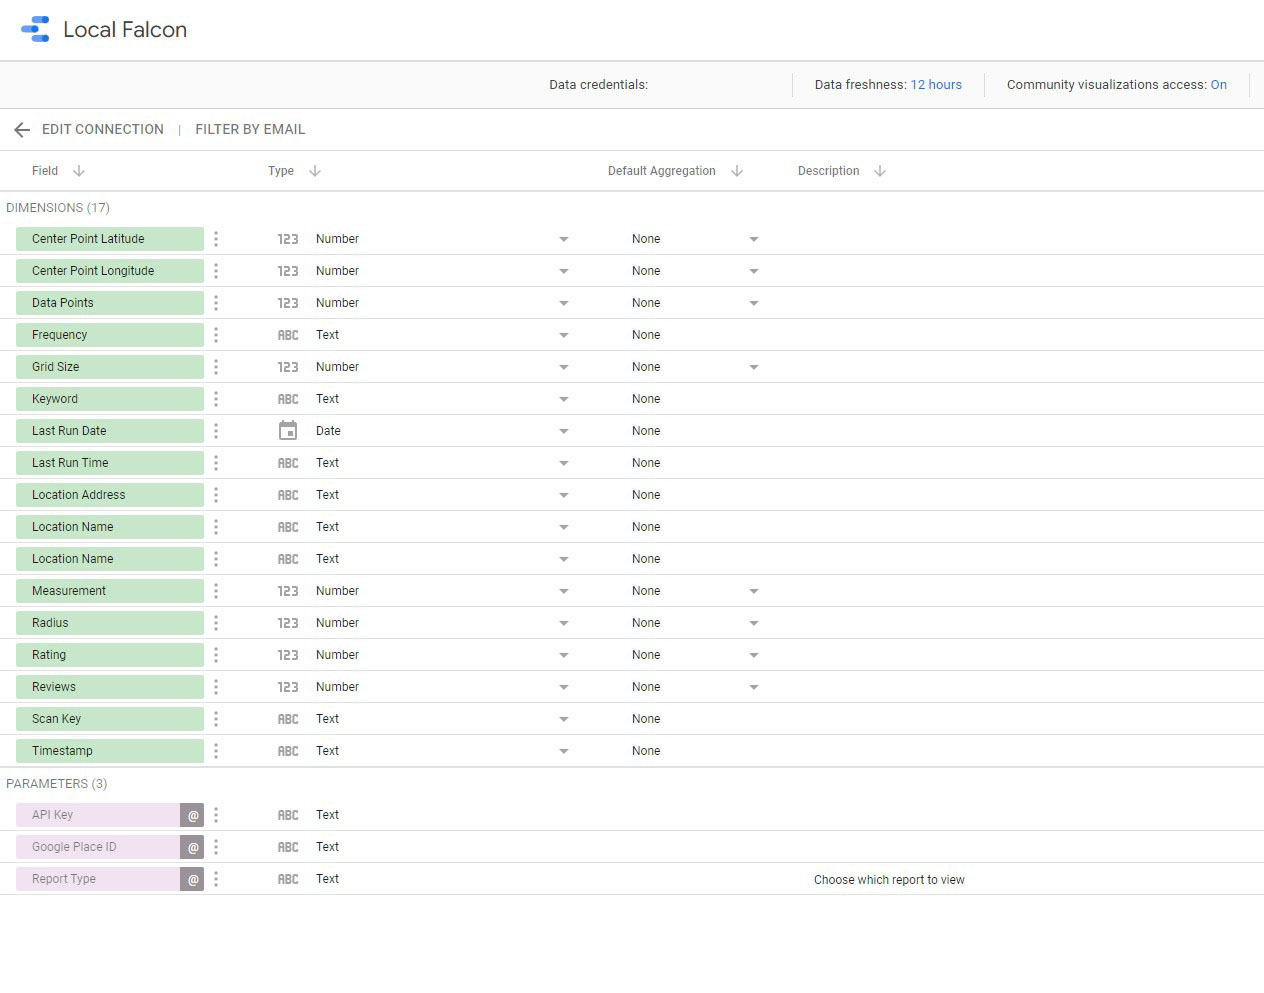
5. Click on Create Report and start building your Looker Studio report
Click Create Report at the top of the page when finished. You'll be redirected to a new screen where your report will be built. Click Add to Report to add your data source.
6. Customize the Report
Customize your report by choosing the graphs, colors, layout, and themes you'd like to apply to your report.
7. View Your Local Falcon Report
When finished, click View at the top of the page to see your report.
Unlinking Looker Studio from Local Falcon
If you'd like to remove Local Falcon's access to Looker Studio, you can do so from your Google account management settings.
1. Log in
Log into the Looker Studio account you'd like to unlink from Local Falcon.
2. Account Selection
Select your account drop-down in the upper-right corner of the page, then click Manage Account.
3. Manage third-party access
In the Security tab, locate the Third party-apps with the account access section and click Manage third-party access.
4. Remove access
Scroll down to the Google apps section and click Looker Studio, then Remove Access.
Category:Reporting
Tags:looker studioreportingintegrations

